Have you ever run vagrant destroy on your box before you realized you wanted to keep the MySQL databases? Well I have, last night actually. Thankfully I use the wonderful and free Veeam Endpoint Backup to backup daily and was able to restore the old VMDK, connect it to a VirtualBox VM, use Ubuntu recovery mode to gain access, and then backup the databases to a shared folder. So that was an exciting learning experience.
Problem
And so it got me thinking – how can I make the databases persist between vagrant destroy and vagrant up so that I don’t lose them just because my memory was lacking. Separate VM? No, that’s more resources and adds complexity. Map MySQL data directory to host? No, been there done that, DB access is noticeably slower. Forget Vagrant and use Docker? No, I’ve tried it and though many love Docker it’s not for me; perhaps when Docker for Windows is as good as Docker for Mac/Linux.
Solution
UPDATE 2/9/2020: Unfortunately the PuPHPet project has been abandoned and is no longer viable as an easy-to-use Vagrant/Puppet configuration generator. Also, the vagrant-triggers plugin has been superseded by the built-in triggers in Vagrant 2.1.0 and later, which is a good thing. Due to these two issues this howto guide can no longer be followed to get the expected result. When I have found and implemented an alternative solution I will post and link from here. However, the scripts included below to backup and restore your databases are still sound and can be used with the built-in triggers in Vagrant 2.1.0 and later.
Use the vagrant-triggers plugin and a couple bash scripts to obtain developer happiness.
Prerequisites
- VirtualBox 5.0.26 or later
- Vagrant 1.8.6 or later
- Vagrant Plugins
- vagrant-winnfsd:
vagrant plugin install vagrant-winnfsd - vagrant-triggers:
vagrant plugin install vagrant-triggers - vagrant-hostsupdater:
vagrant plugin install vagrant-hostsupdater
- vagrant-winnfsd:
- Customized Vagrant + PuPHPet configuration
Getting Started
Important: Use an elevated Command Prompt (Start button, type “cmd”, hold Ctrl+Shift and press Enter) for all commands.
Create a new folder where you would like to store the content and config for your new Vagrant box. In my case I have a Vagrant folder on a secondary hard drive that I use for Vagrant boxes. The directory name you choose isn’t important as long as you remember what box is in it. The Vagrant box’s actual name will be taken from PuPHPet’s config.yaml regardless.
C:\WINDOWS\system32>d:
D:\>cd Vagrant
D:\Vagrant>mkdir Developer
D:\Vagrant>cd Developer
D:\Vagrant\Developer>
Extract the customized Vagrant + PuPHPet config (see Prerequisites above) there and you should have the following files present:
D:\Vagrant\Developer>dir
 Volume in drive D is Storage
 Volume Serial Number is 4051-68B4

 Directory of D:\Vagrant\Developer

02/10/2017  04:54 PM   <dir>          .
02/10/2017  04:54 PM   <dir>          ..
02/10/2017  04:36 PM              135 .gitattributes
02/10/2017  04:36 PM               27 .gitignore
02/10/2017  04:37 PM   <dir>          puphpet
02/10/2017  04:36 PM              861 Vagrantfile
02/10/2017  04:42 PM   <dir>          wincachegrind
02/10/2017 04:43 PM    <dir>          www
               3 File(s) 1,023 bytes
               5 Dir(s) 287,536,390,144 bytes free
The www directory will contain web content, xdebug output files, and MySQL database backups. The wincachegrind directory contains WinCacheGrind, a viewer for xdebug output files.
Issue a vagrant up and take a break while the box is provisioned.
D:\Vagrant\Developer>vagrant up
Bringing machine 'developer' up with 'virtualbox' provider...
==> developer: Importing base box 'puphpet/ubuntu1604-x64'...
==> developer: Matching MAC address for NAT networking...
==> developer: Checking if box 'puphpet/ubuntu1604-x64' is up to date...
==> developer: Setting the name of the VM: Developer_developer_1486767926284_24830
==> developer: Clearing any previously set network interfaces...
==> developer: Preparing network interfaces based on configuration...
    developer: Adapter 1: nat
    developer: Adapter 2: hostonly
==> developer: Forwarding ports...
    developer: 22 (guest) => 6241 (host) (adapter 1)
    developer: 22 (guest) => 2222 (host) (adapter 1)
==> developer: Running 'pre-boot' VM customizations...
==> developer: Booting VM...
==> developer: Waiting for machine to boot. This may take a few minutes...

...

==> developer: Did something go wrong? Don't worry! I can (maybe) help!
==> developer: Please go to our Github issues page at:
==> developer:
==> developer: https://github.com/puphpet/puphpet/issues
==> developer:
==> developer: and search for your problem. If you do not find your problem
==> developer: answered, open a new ticket!
==> developer:
==> developer: ------------------------------------------------------------
==> developer: PLEASE REMEMBER TO INCLUDE THE CONTENTS OF YOUR
==> developer: "puphpet/config.yaml" FILE.
==> developer: ------------------------------------------------------------
==> developer:
==> developer: Make sure to xxx out any potential API keys or passwords
==> developer: that you do not want others to see!
==> developer:
==> developer: Happy programming!
==> developer:                                              - Juan Treminio
==> developer:
==> developer: ++++++++++++++++++++++++++++++++++++++++++++++++++++++++++++
==> developer: |  ____                _      _    _                    _  |
==> developer: | |  _ \ ___  __ _  __| |    / \  | |__   _____   _____| | |
==> developer: | | |_) / _ \/ _` |/ _` |   / _ \ | '_ \ / _ \ \ / / _ \ | |
==> developer: | |  _ <  __/ (_| | (_| |  / ___ \| |_) | (_) \ V /  __/_| |
==> developer: | |_| \_\___|\__,_|\__,_| /_/   \_\_.__/ \___/ \_/ \___(_) |
==> developer: |                                                          |
==> developer: ++++++++++++++++++++++++++++++++++++++++++++++++++++++++++++
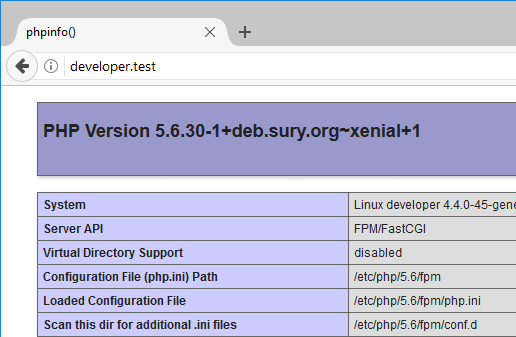
Alright, if everything went smoothly you should have a working vagrant box at http://developer.test that displays the PHP info page.
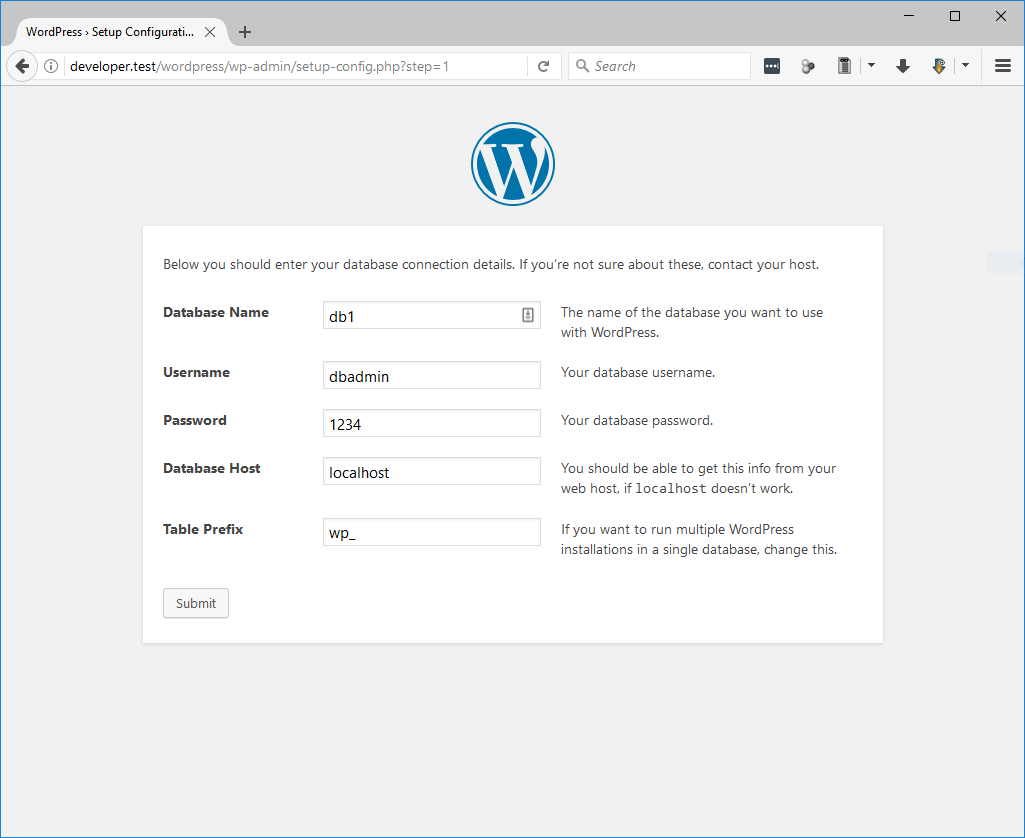
At this point we have no MySQL data but we do have an empty database, db1, so let’s install WordPress to generate some data.
After extracting the WordPress install zip file to D:\Vagrant\Developer\www\developer.test\public_html we can start the install at http://developer.test/wordpress.
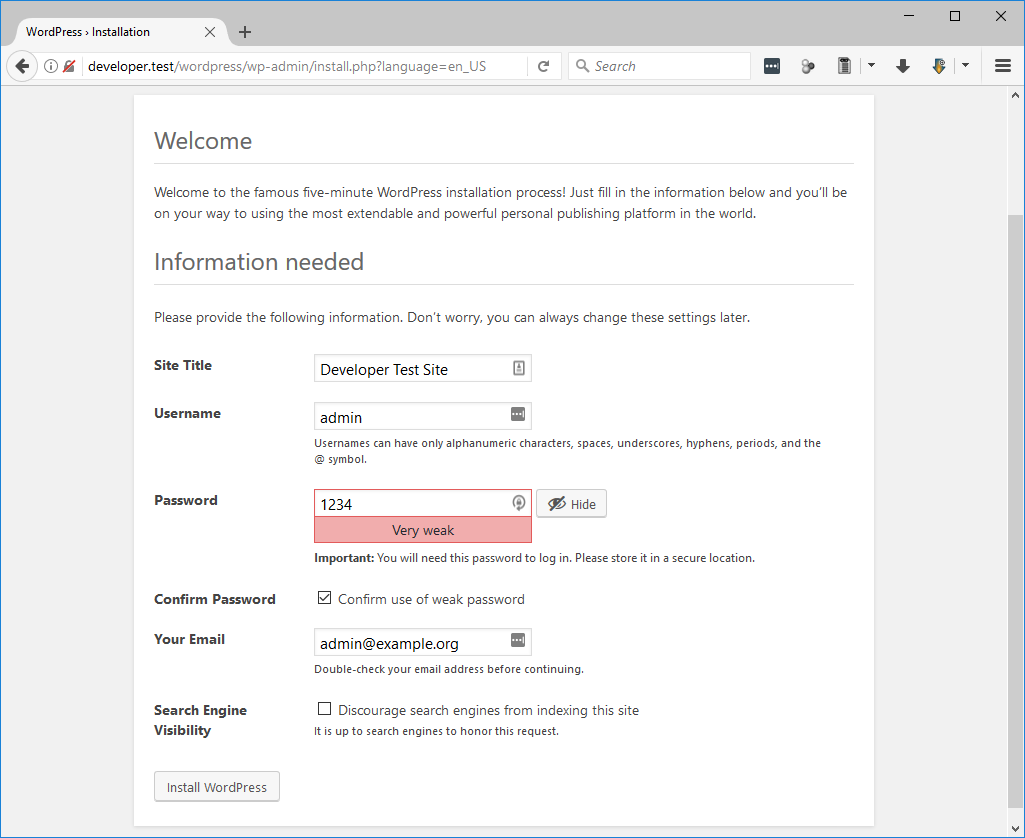
Okay, done!
Destroy! Destroy!
Now let’s perform a destroy and see what happens.
Important: The vagrant box must be running when you issue the destroy command because the database backup script needs to run inside box. Otherwise you’ll get a “not yet ready for SSH” error and return to the command prompt.
D:\Vagrant\Developer>vagrant destroy
==> developer: Running triggers before destroy...
==> developer: Dumping the databases before destroying the VM...
==> developer: Executing remote command "cd /var/www/mysql && bash backupdbs.sh"...
==> developer: mysql: [Warning] Using a password on the command line interface can be insecure.
==> developer: Dumping database: db1
==> developer: mysqldump: [Warning] Using a password on the command line interface can be insecure.
==> developer: Remote command execution finished.
    developer: Are you sure you want to destroy the 'developer' VM? [y/N] y
==> developer: Forcing shutdown of VM...
==> developer: Destroying VM and associated drives...
==> developer: Pruning invalid NFS exports.
==> developer: [vagrant-hostsupdater] Removing hosts
Nice, and what do we find in D:\Vagrant\Developer\www\mysql now?
D:\Vagrant\Developer\www\mysql>dir
 Volume in drive D is Storage
 Volume Serial Number is 4051-68B4

 Directory of D:\Vagrant\Developer\www\mysql

02/10/2017  07:19 PM    <dir>          .
02/10/2017  07:19 PM    <dir>          ..
02/10/2017  07:19 PM            38,390 backupdbs.db1.sql
02/10/2017  03:59 AM               443 backupdbs.sh
02/10/2017  03:59 AM               180 restoredbs.sh
               3 File(s) 39,013 bytes
               2 Dir(s) 287,498,833,920 bytes free
Yes, our database has been preserved!
Up Vagrant, Up!
Let’s provision this VM again and see what happens near the end of the process:
D:\Vagrant\Developer>vagrant up
...

==> developer: Running files in files/startup-once
==> developer: Created file /.puphpet-stuff/startup-once-ran
==> developer: Importing backupdbs.db1.sql ...
==> developer: mysql: [Warning] Using a password on the command line interface can be insecure.
==> developer: Finished running files in files/startup-once

...
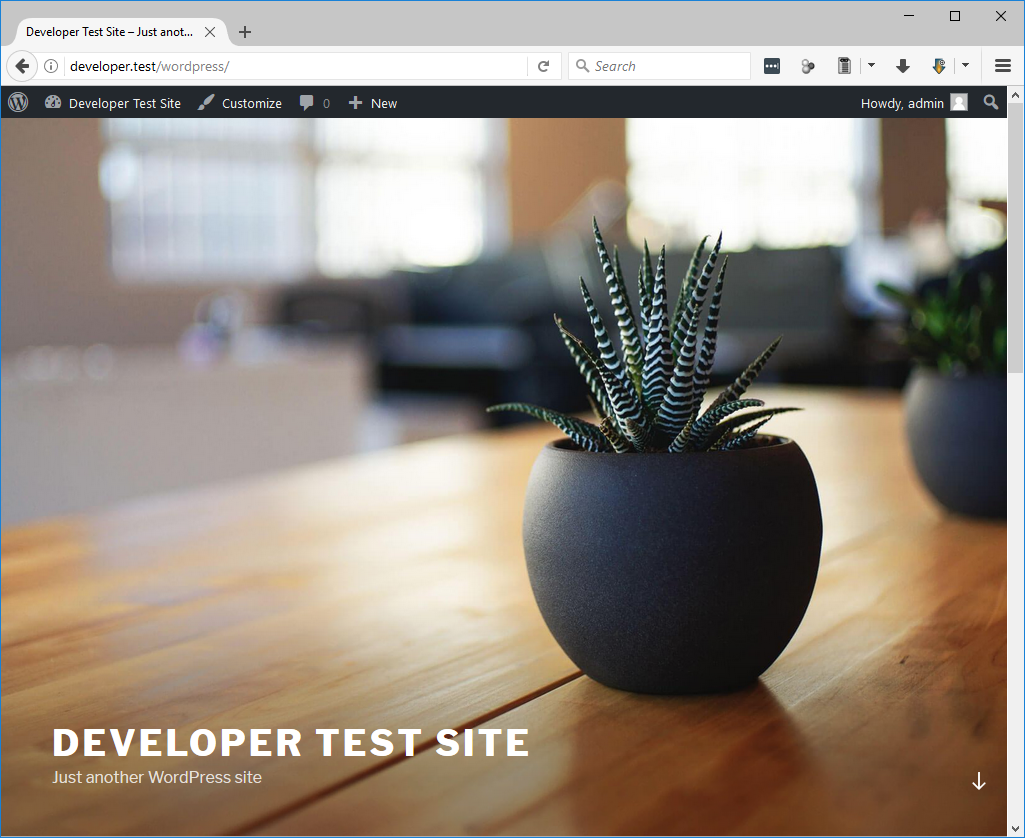
And if we visit http://developer.test/wordpress after destroying and provisioning the box – no difference – success!
How does it work?
Here are the changes that were required to backup the databases before a “destroy” and restore after the first “up”.
First, there is a bit of code added to Vagrantfile in order to trigger a database backup before “destroy”.
In D:\Vagrant\Developer\Vagrantfile you’ll find this section:
Vagrant.configure('2') do |config|
  eval File.read("#{dir}/puphpet/vagrant/Vagrantfile-#{data['target']}")
end
And the updated code adds a trigger before the end:
Vagrant.configure('2') do |config|
  eval File.read("#{dir}/puphpet/vagrant/Vagrantfile-#{data['target']}")

  # BACKUP MYSQL DATABASES
  config.trigger.before :destroy do
    info "Dumping the databases before destroying the VM..."
    run_remote  "cd /var/www/mysql && bash backupdbs.sh"
  end

end
And D:\Vagrant\Developer\www\mysql\backupdbs.sh contains:
#!/bin/bash

USER="root"
PASSWORD="1234"

databases=`mysql -u $USER -p$PASSWORD -e "SHOW DATABASES;" | tr -d "| " | grep -v Database`

for db in $databases; do
    if [[ "$db" != "information_schema" ]] && [[ "$db" != "performance_schema" ]] && [[ "$db" != "sys" ]] && [[ "$db" != "mysql" ]] && [[ "$db" != _* ]] ; then
        echo "Dumping database: $db"
        mysqldump -u $USER -p$PASSWORD --databases $db > backupdbs.$db.sql
    fi
done
It grabs a list of user databases and dumps each one to a SQL file. That takes care of the backup. The restore is triggered by PuPHPet on the initial “up” of the vagrant box.
D:\Vagrant\Developer\puphpet\files\startup-once\restoredbs.sh contains:
cd /var/www/mysql
bash restoredbs.sh
And D:\Vagrant\Developer\www\mysql\restoredbs.sh contains:
#!/bin/bash

USER="root"
PASSWORD="1234"

databases=`ls -1 backupdbs.*.sql`

for db in $databases; do
        echo "Importing $db ..."
        mysql -u $USER -p$PASSWORD < $db
done
It grabs a list of SQL files created by the backup and imports each one into the MySQL server.
Important: If you are copying code from this page and creating your own script files make sure the line endings are set to UNIX (LF only). Otherwise Vagrant will fail to execute them.
Conclusion
Not only does this preserve your MySQL databases but with this method also opens up the possibility of distributing a development environment with applications and databases already installed and working from the first startup of your Vagrant box.
Hope this article has been useful to you, drop a comment if you feel so inclined.